Back in the beginning of May, my lovely sister Lauren shared a link to a recipe with me. It was for these adorable Cinco de Mayo Pinata Cookies that she discovered on Pinterest. Of course, being the baker that I am, I wanted to make them immediately. Cinco de Mayo was only 3 days away, which felt like plenty of time to put these together for my friends. Boy was I wrong! Pinterest should come with a warning label:
Warning: Things on Pinterest are harder than they appear.
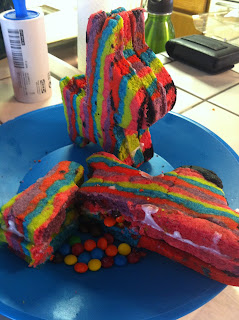 |
| My Cinco de Mayo Pinata Cookies |
These were the single most difficult thing I have ever attempted to make. But, I did it and my roommate Margaret loved them. So, I would consider this baking adventure a moderate success. Normally when I share a recipe, I type it out again for my readers to follow step-by-step without leaving my blog. Today I don't think that is necessary. I am going to share with you step-by-step the craziness that went through this blog. I would highly recommend you visit the original site for a more detailed look into exactly how this is supposed to be done. I'm just here to share my hilarious experience. :)
 |
| With that big head, he is definitely a smart ass!! :) |
Let's get down to business. For starters, I had the hardest time finding a donkey/burro cookie cutter. I went to Michael's, Target, and Bed, Bath, and Beyond on Wednesday afternoon and could not find anything that was even remotely appropraite. I went home, dejected and disappointed, and called my sister Erin for cookie cutter advice. We discussed looking online and trying specialty stores, but I didn't feel like I had the time. On Thursday, I had to run errands for work and took my lunch break while I was out. I stopped into Michael's again, armed with some great coupons, determined to find an animal cookie cutter that would work. And that's when I saw the display: 30% off all Cinco de Mayo stuff! And there was the donkey cookie cutter. Sure his head was really large, but he was a donkey and he was ready for a fiesta. I snatched him up quickly and was ready to bake!
 |
| Best idea ever! And there were tons of leftovers!! :) |
Next up was the procurement of the ingredients to make the colorful sugar cookies filled with mini M&M's! Most of the ingredients were pretty standard, but finding those DARN mini M&M's was next to impossible. After failing at multiple stores, my friend Laura suggested heading a frozen yogurt place and just buying toppings. And that is exactly what I did! The recipe also called for gel food coloring, but I couldn't find it in the neon colors I was hoping for, so I had to settle for the regular liquid stuff. But, now I have plenty of black and neon food coloring.
 |
| Pretty basic ingredients, except the Almond Extract. That made them special! :) |
Making the dough and dying the dough really wasn't all that difficult. I used my KitchenAid to actually make the dough, and after I divided into 6 separate balls, I used a clean bowl on the mixer to mix in the food coloring. Of course some food coloring got on my hands and by the time I was done, I looked like I had murdered a few Care Bears!! Layering the dough was by far one of the most difficult parts. I felt like I didn't have enough of it to make an even layer. I also think that I didn't use a proper size Tupperware container for this step. It just wasn't working. I tried flattening it with my hands and then laying it in. I tried putting the ball of dough in the container and spreading it out with my hands. Nothing worked well, and even after I re-watched the video tutorials, I still couldn't figure it out. Somehow I ended up with a very short stack of cookie dough.
 |
| I had really high hopes that the dough would expand while baking. |
Onto the baking! For some reason, this recipe had me "waste" a lot of cookie. Fortunately, I hate waste and came up with an alternative to this (wait for it at the bottom of this long blog). Anyway, the recipe asked you to cut 1/4 inch slices of the dough and bake them. Then, the moment they come out of the oven, you are supposed to press the cookie cutter into them. Why not use the cookie cutter on the uncooked dough? I have absolutely NO idea, but I did it anyway.
 |
| In what universe did I think this was going to work? |
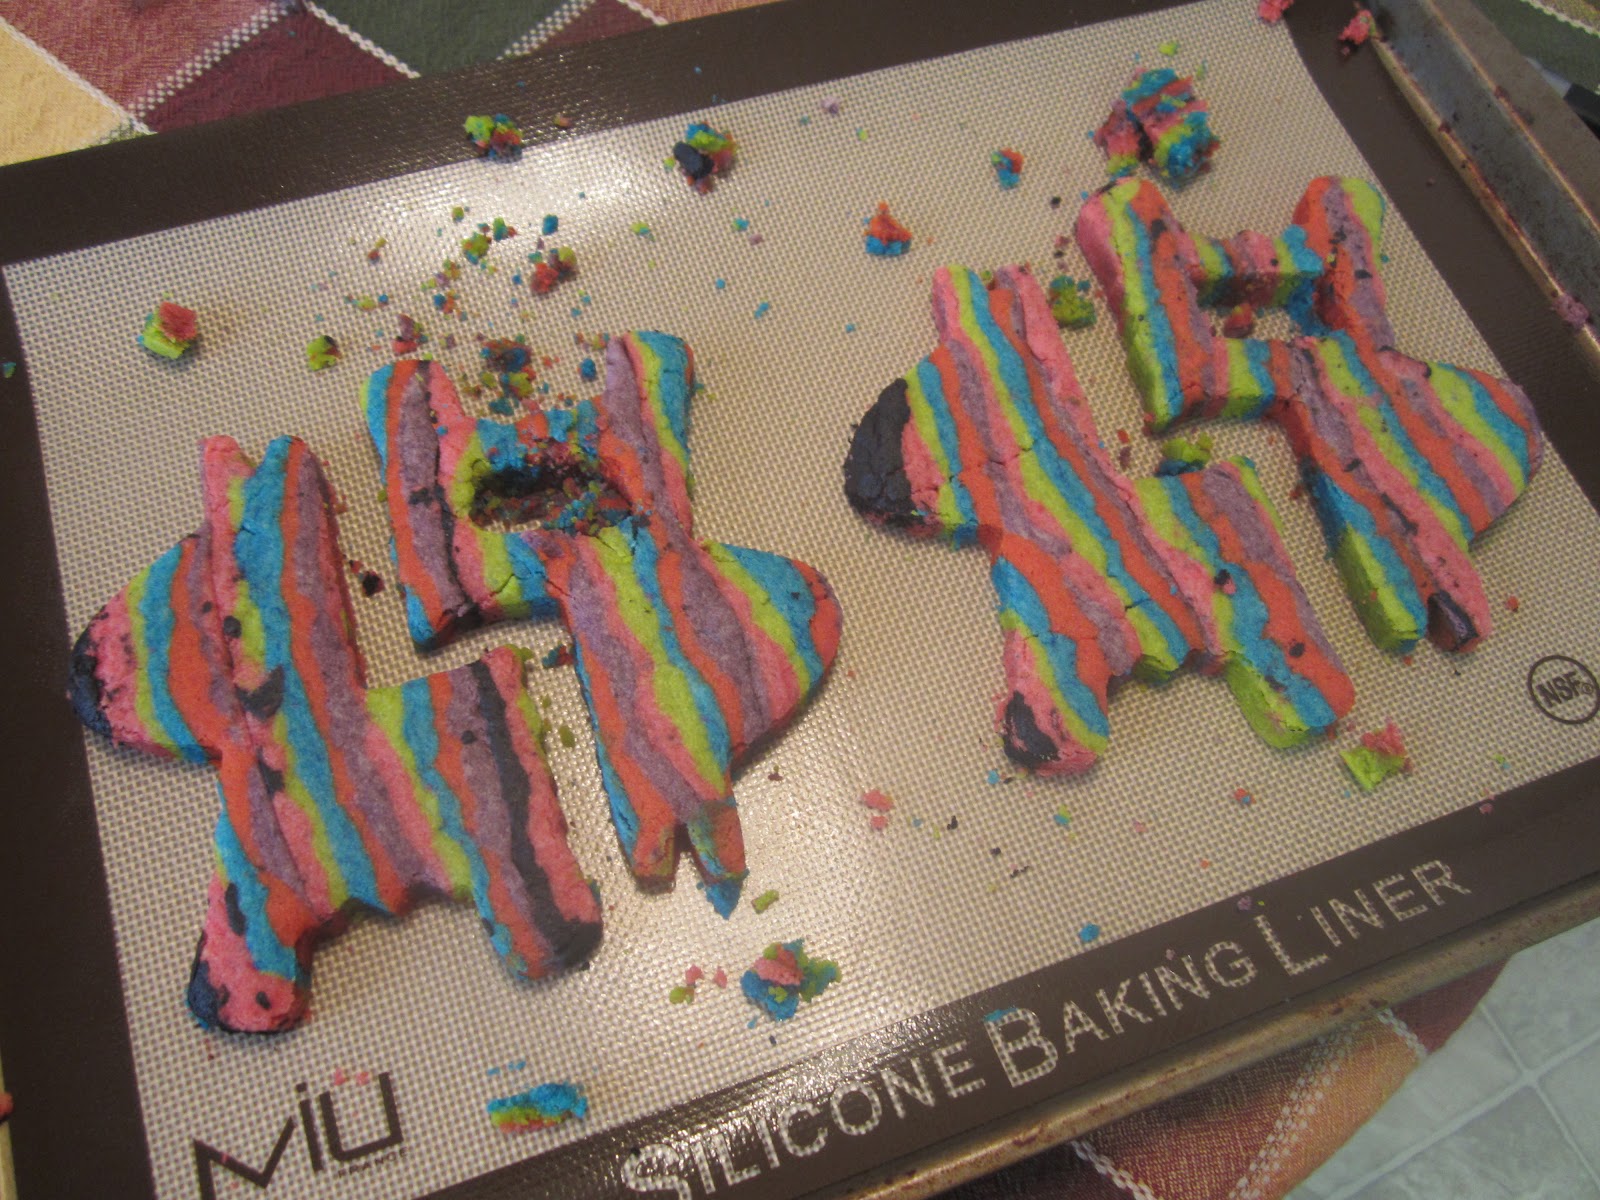
Eventually I decided that I was going to have to smush (technical term) the dough together to make bigger pieces that would actually fit the silly donkey with a big head. It was all such an ordeal and I was only able to cut out a total of six donkeys...and each 3-D donkey required three cookies. So yes, if you do the math, you will discover that this entire recipe only produced two complete donkeys for me!! I think it should have made quite a few more...but obviously my dough was not cooperating with this process. You'll be able to see all of this below:
 |
| That is three slices of dough smushed together to make one large enough for a a donkey. |
 |
| DONKEYS! And two with the cutouts to fit the mini M&M's! |
Then came the assembly of these awesome pinata cookies. Basically you using a frosting glue (powdered sugar and milk) to glue them together. Then add the mini M&M's and top it with another donkey. BAM. Pinata time. And that's all assuming your donkey's limbs don't fall off and you don't have to perform emergency surgery with frosting. Because that happened...multiple times...and it was not fun. I don't think the donkey's liked it either.
 |
| These donkeys have HUGE heads. |
 |
| See the frosting glue? |
 |
| Decapitated donkeys. |
 |
| The mini M&M's were definitely the tasty part! |
So, this was by no means easy or fun the whole way through, but I am really glad that I tried it out and stuck with it until the end. I'm not a big sugar cookie fan to begin with, so I had absolutely no interest in eating the donkeys. Thankfully my roommate liked the cookies so they didn't go to waste! Oh, speaking of things NOT going to waste, I wanted to tell you what I did with the leftover cookie pieces! I used the food processor to make some cookie crumbs. Then I melted some butter and added it to the cookie crumbs to make a pie crust! I found a box of jello chocolate pudding mix in my cupboard, so I prepared that for the pie filling. Then I sprinkled some mini M&M's on top of the crust poured in the chocolate pudding. After a couple of hours in the fridge, viola! Chocolate Pudding Pie with a Sugar Cookie Crust!
 |
| The sugar cookie crust and mini M&M's! |
 |
| The finished pie!! SO incredible. And so much easier than the donkeys! |
Well, thanks so much for sticking with me through this post. A special thanks to my sister Lauren for sharing the recipe with me and insisting that I attempt these pinata cookies! They may not have turned out perfectly, but it was a (mostly) fun experience. I'll be excited to try something similar in the future...I like the pinata dessert idea a lot and would like to come up with something more baker-friendly!
<3 Buttercup


No comments:
Post a Comment